ASSIGNMENTS
1. Make a machine that is controlled from a computer or phone. Use at least one stepper motor.
2. Feel free to use other items in the kit (e.g. string, magnets, wires). How can you calibrate motor position (i.e. guarantee the "home" position is the same each time you power on the device)?

Getting the Stepper Motor to Work
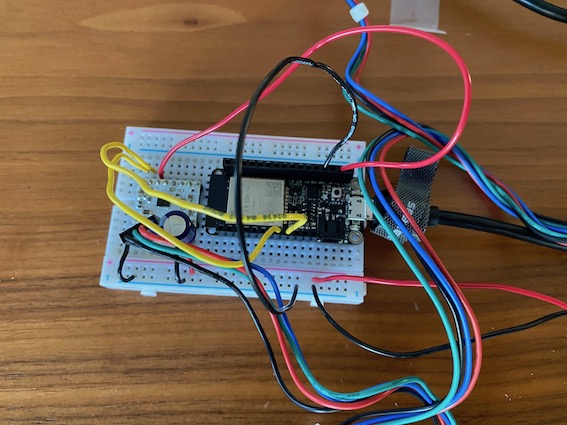
During the lecture, the first thing that I needed to do was to learn how to use the Stepper Motors. Following this tutorial for Stepper Motor Control, I was able to easily build the circuit. First, I used the multimeter to determine which cables on the Stepper Motor were matching with one another. I saw that it was in the same order as the motor in the tutorial.
Afterwards, with the help of this website, I arranged the current going thorugh the stepper motor driver using a small screw and my multimeter. The circuit seemed to be done, so I uploaded the required libraries to power a Stepper Motor.
I uploaded to first example code to my Huzzah Board, and it worked perfectly! The motor was making small steps, and I sticked a sticker on it so that it can be more easily noticed. Next, I tried the second example code given in the tutorial. This worked perfectly as well. Now that I knew how to work with the Stepper Motor, I could start my assignment for this week.
Building the "Smart Material Organizer"
For the assignment, I needed to make a machine that is controlled from a computer or phone while using a stepper motor. I realized that my table was getting really messy with all the wires, electronic components, and all the other materials from the kit. Therefore, I thought of making a device that would arrange these materials.
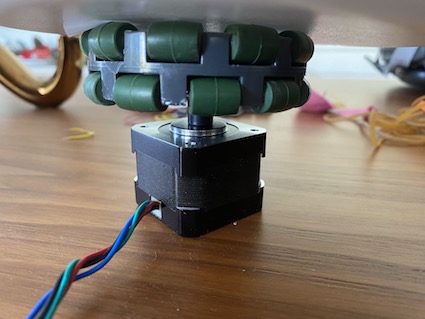
First, I needed to transfer the Stepper motor's motion to another object which would make the base of my new device. I took my cleaning robot from week 4, and detached the back wheel. The hole in the middle of the wheel was too small for the Stepper Motor's shaft. Therefore, I drilled a bigger hole on the wheel, and it was now fitting the Stepper motor perfectly.
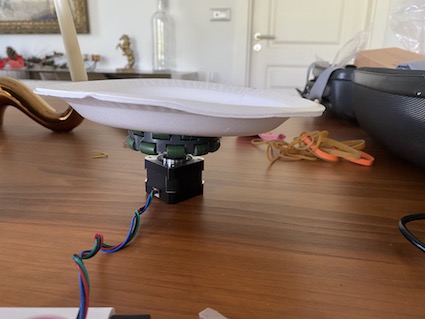
I used one of the example codes from the tutorial to see if the wheel would rotate with the motor, and it seemed to work just as I wanted. Now, I needed a larger base to place all the materials on it. I found a cardboard plate and sticked it to the wheel. In my first trial, I just made the wheel rotate forever, to see if there was any issues with my design. Everything was functioning as it should, so I could now go ahead and make it controllable using my computer.
For this purpose, I took certain sections of the Simple Wifi Server Code from week 9, and merged it with my Stepper Motor code on Arduino. I wanted to write a code that would rotate the plate approximately 45 degrees, so that it would bring the next object on the plate infront of the user. Hence, I changed the code in a way that the motor would move a certain number of steps (I ended up using 895 steps because it seemed to give the best results for what I was trying to accomplish) instead of rotating forever. I linked this code with Google Firebase, and changed the commands.
In the final format, the Firebase interface shows a "Waiting" writing to start with. If you type in "NEXT", the plate rotates approximately 45 degrees clockwise, and brings the next material to you. If you type in "BACK", the plate rotates approximately 45 degrees counter-clockwise, and brings back the previous material to you. I really liked the final results, and plan on improving the Firebase web interface in the future.