ASSIGNMENTS
1. Find a pattern to cast and a ventilated space for class on Tuesday. Do not handle the molding and casting supplies without wearing gloves.
2. Mold & Cast an object of your own selection.
3. Continue to work on the final project

Beginning the Molding Process Process
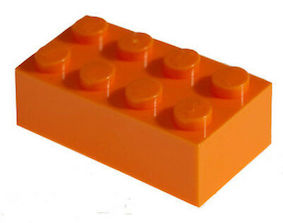
For this assignment, I needed to mold and cast an object of my selections, so I started looking around to find something to work with. After a while, I came across a toy Darth Vader helmet piece, and decided to try and work with that. However, it had a really absurd shape, and therefore I wanted to have a plan B. So I went ahead and took a basic LEGO piece.
This was a way more simple shape, so I thought that it would be easier to mold & cast. I had the Smooth-Sil 945 (white and purple), and using the video on the product's page, and by following the given tutorial, I was able to create the mold for these objects.
Creating the Mold
First, I went to a properly ventilated room to work on this assignment. I followed the safety rules mentioned in the tutorial, and started to work on the molds.
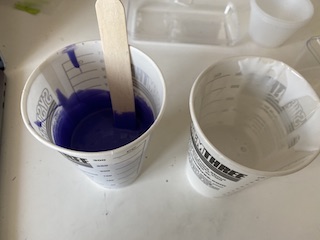
I had already found my patterns: the Darth Vader helmet piece and a LEGO brick. I mixed part B first (for approximately 3 minutes), and then mixed part A for an equal amount of time. I combined the two mixtures together, and mixed them for about 3-4 minutes as well. Now I could start working with the objects that I selected.
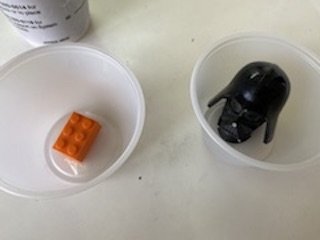
I took two of the plastic cups that were inside my kit, and placed one of the objects that I selected in each one of the cups. I was expecting these objects to float when the mixture is poured, so I decided to stick them to the cup. I found some tape, and sticked both objects to the bottom of their plasitc cups.
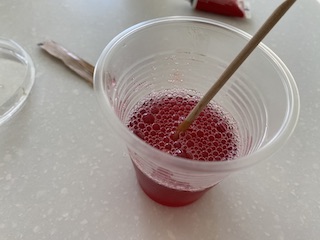
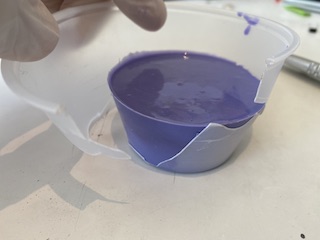
Now that they were in place, I could start to add my mixture. I mixed it a little more (since I left it waiting while sticking the objects), and then pored it into the plastic cups until it fully covered the patterns (the Darth Vader helmet and the LEGO brick). As I slowly poured the mixture into the cups, I saw the air bubbles start to come to the surface. So I slightly shook/hit the cups so that all of the air bubbles would reach the surface and get out of the mixture. This would allow me to create a proper mold. I continued to do this until I thought that there wasn't anymore air left inside the mixtures.
However, as I continued to slighlty shake these cups to let the air out, I realized that the objects were starting to float. I believe that the tape that I used wasn't enough to hold the objects in place (I probably didn't get a good feel of how fixed they were with the gloves on). Hence, I had to find a solution to this problem. Using a wooden stick, I pushged the objects back to the bottom, and therefore had to let the air out once again.
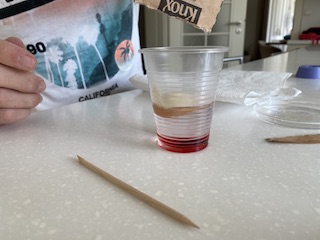
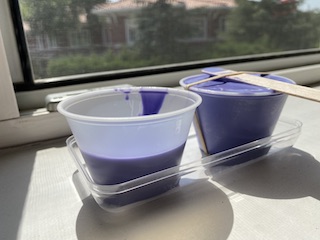
The LEGO brick seemed to somewhat stay at the bottom, but the Darth Vader helmet kept on floating back up. Therefore, I pushed it to the bottom one last time, and then placed the wooden piece on top of the cup. I stabilized this piece to the cup via a rubber band, and by doing so managed to prevent the Darth Vader helmet from floating to the top. Then I placed the mold in a warm place and allowed it to cure for a day.

Getting the Mold out of the Cups
After a day passed, I took the plastic cups and started to take the molds out of the cups. Once again, I followed the safety rules mentioned in the tutorial for this aspect of the process as well. Using a utility knife, I began to cut out the corners in order to push the mold out of the cups. However, this didn't work as well as I expected. The mold had sticked to the plastic cup quite strongly, so it would start to deform as I tried to push it outwards. So, I just decided to cut the plastic cups. I cut the sides of the plastic cups, and carefully ripped them apart to take out the molds.
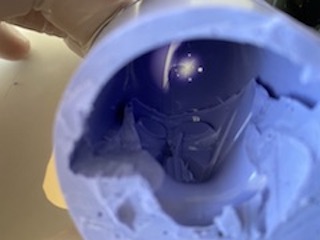
As I turned these molds upside down, I quickly realised that the objects had floated while waiting for a day. I couldn't see the en of the objects when I looked at the bottom, so I had to reach these objects in order to take thgem out. A part of the tape was still at the bottom, and using the tape I tried to pinpoint approximately where the objects were.
I started with the Darth Vader helmet, and cut the bottom of the mold until I reached the helmet. After finding the bottom of the object, I could take it out to use the mold afterwards. I tried to pull the helmet piece out of the mold but it didn' really work. I tried using the utility knife to loosen some ends of the helmet, and continued to push it out of the mold. Rgeardless, it was impossible to properly get it out of the mold.
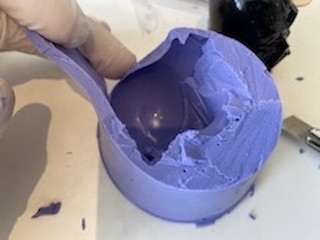
As I expected in the beginning, the helmet's weird shape caused it to get stuck inside the substance. I tried really hard to get it out of the mold, but ended up messing up a part of to mold to get the helmet out. I could see the pattern inside the mold, but I knew that I couldn't use it since it was ripped apart. Nevertheless, this wasn't a big problem. I had used the LEGO brick exactly for a stiuation like this.
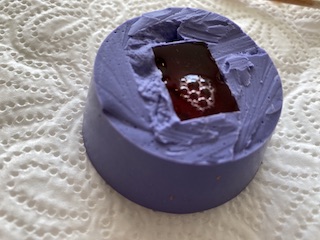
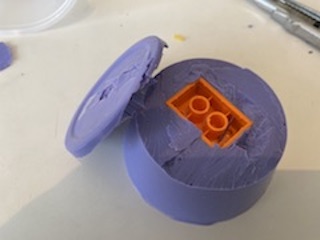
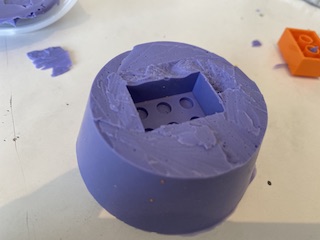
I cut the LEGO brick's plastic cup using the utility knife, and took out the purple mold. The LEGO brick had floated as well, and I couldn't see the bottom of the object when I turned the mold upside down. Therefore, I once again cut the bottom of the mold until I saw the end of the LEGO brick. I carefully cut the sides of the brick, and started to pull it out. After a few tries, I managed to get the LEGO brick out of the mold. The pattern seemed quite nice, and I decided to work with this one.
Casting
Now that the mold (for the LEGO brick) was ready, I could begin casting. I needed a casting medium, and decided to use jelly. I had a flavorless jelly mixture that I could use. I took some boiling water, and poured the jelly mixture inside it. Since the flavorless jelly was also transparent, I decided to use some food coloring in order to obtain a better looking result. I added a few drops of red food coloring into the mixture.
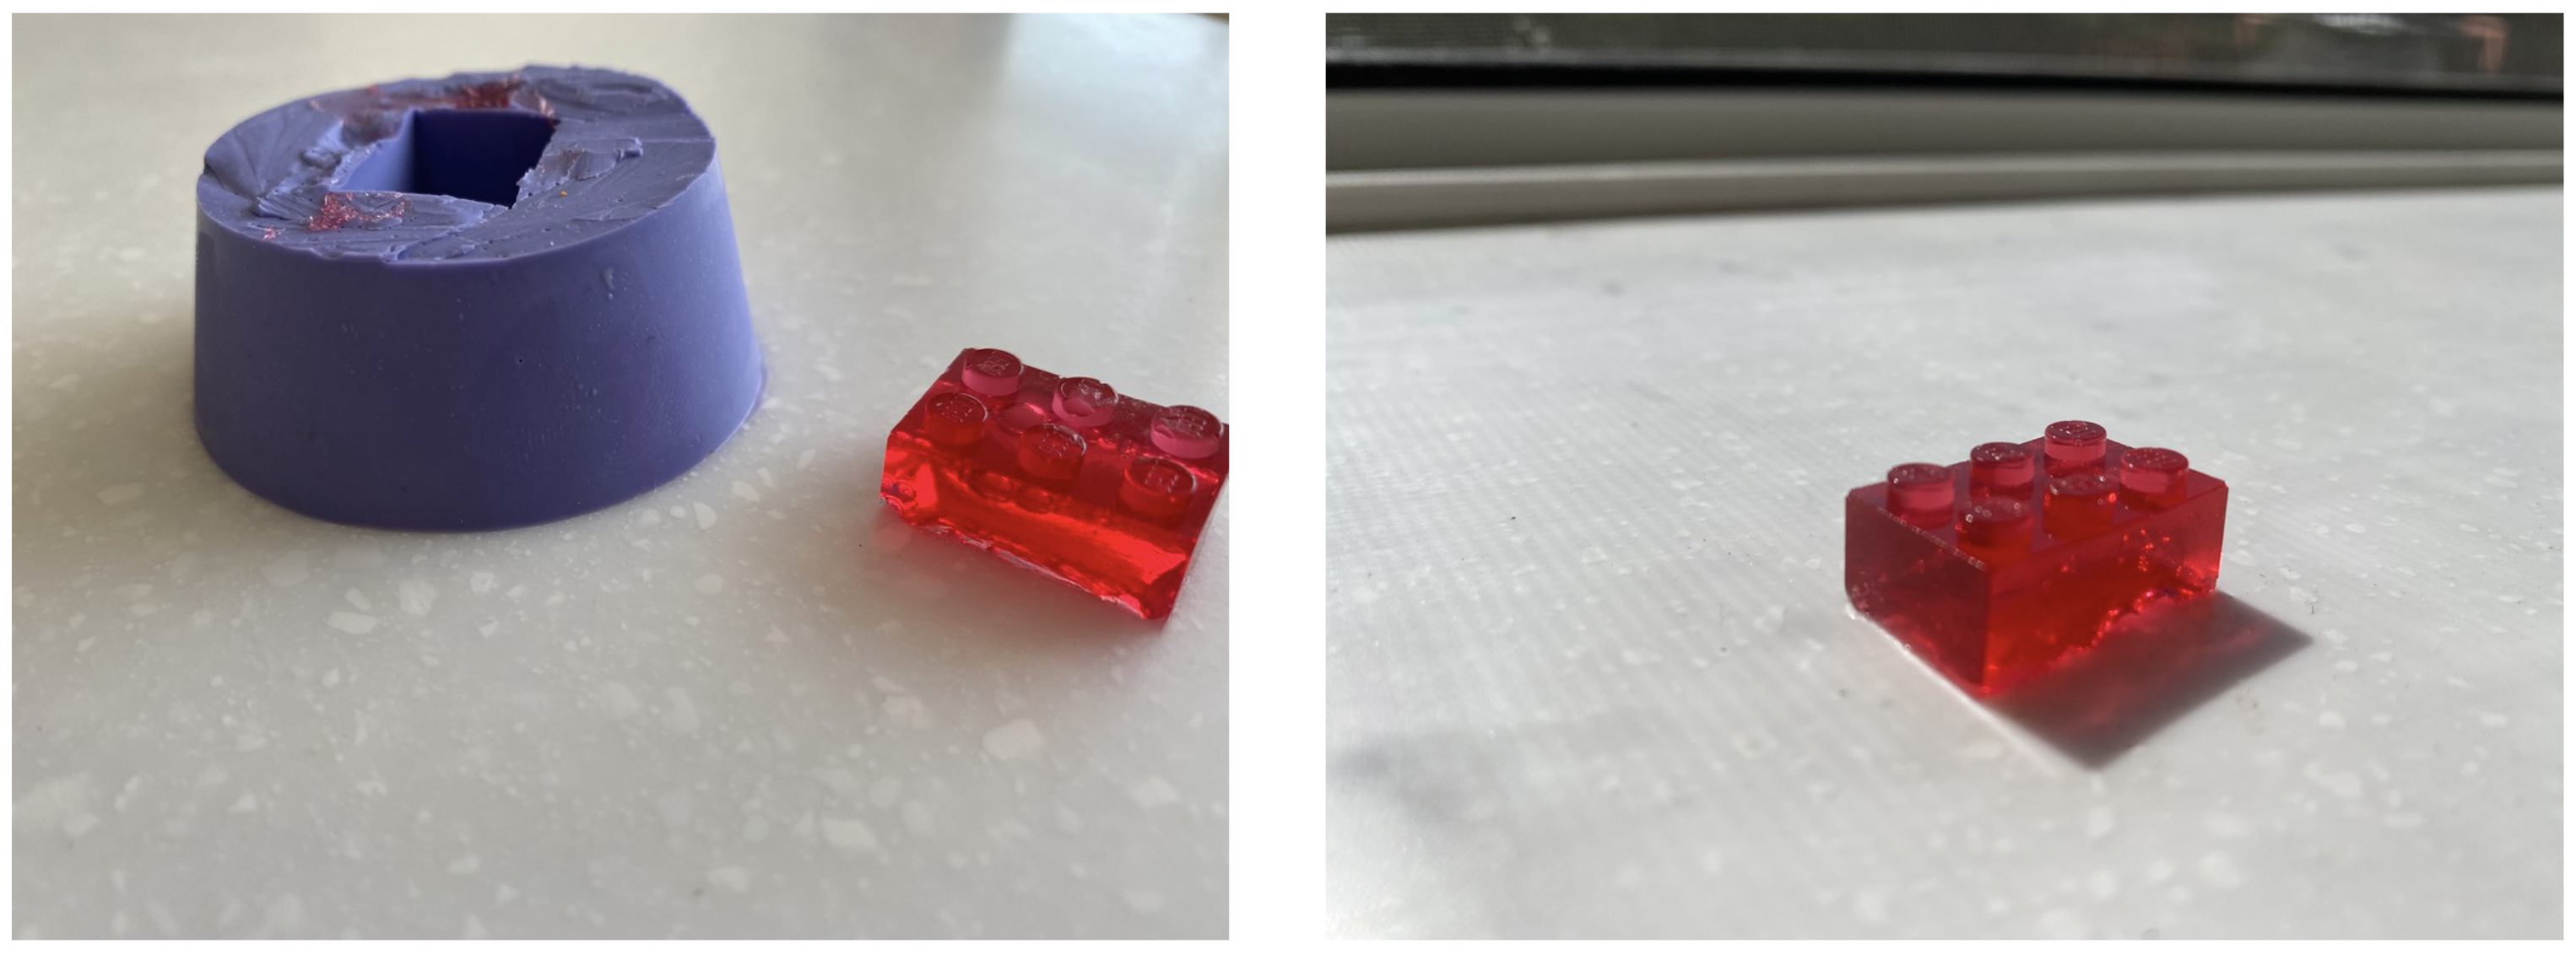
I mixed these until the jelly mixture was fully disolved inside the water. I poured the jelly mixture inside my mold, and put it into the fridge for approximately half an hour. After taking the mold out of the fridge, I once again used the utility knife, and carefully pulled the jelly out of the mold.
My jelly LEGO brick was ready, and it looked just as I wanted. I was really happy with the end result, and would like to try using different materials to cast Lego bricks.